From assessment to punch list and closeout
Commercial Water Damage Repair Process and Planning
The commercial water damage repair process turns an uncertain loss into a defined scope, a schedule and an inspected space.
Why a Structured Process Matters
A water loss in a commercial building creates decisions faster than most people can make them. Who is on site? Is the area safe? What is wet? What can stay? Who pays for what? When can we reopen? A structured repair process does not remove the urgency, but it puts the decisions in a sensible order and makes sure each step is based on evidence rather than assumption.
This guide lays out the commercial water damage repair process from the first assessment to final closeout. It is written for owners, property managers, facility teams and tenants who need to understand the moving parts. It is general information: the appropriate scope for any building depends on actual site conditions and professional assessment, and this guide does not offer conclusions about structural, electrical, environmental, insurance or safety matters.
1. Initial assessment
Identify the source, affected areas and hazards, and document conditions.
2. Moisture evaluation and drying
Measure, dry and verify, so decisions rest on readings.
3. Scope and estimate
Define what is kept, repaired and replaced, and price it clearly.
4. Demolition and preparation
Remove damaged materials with controls and inspect what is exposed.
5. Reconstruction
Coordinate trades to rebuild assemblies and finishes.
6. Inspection and closeout
Complete inspections, punch list and turnover documentation.
Step 1: Initial Damage Assessment
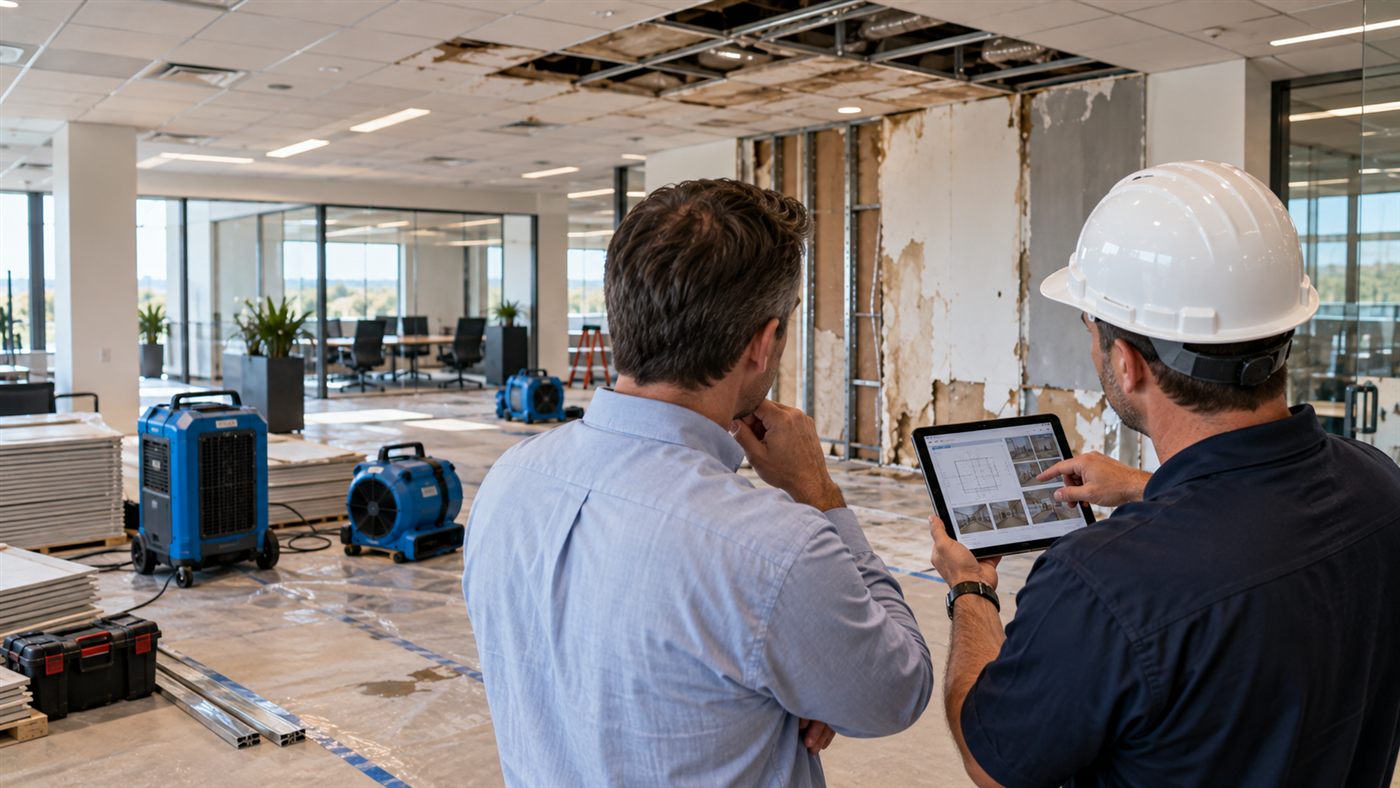
Assessment starts as soon as the space is safe to enter. Its purpose is to understand what happened, where the water went and what must be protected or corrected right away.
What an initial assessment typically covers
- Source identification. Whether the water came from plumbing, HVAC, a roof, a sprinkler system, weather, a drainage failure or another cause, and whether it has been stopped.
- Affected areas. Rooms, floors, tenant spaces, shafts, ceilings and building systems that show or may hold water.
- Water type. A preliminary view of whether the water was clean or potentially contaminated, which influences precautions and scope.
- Hazards. Electrical exposure, unstable ceilings, slippery surfaces, contaminated materials and other safety concerns, handled by qualified professionals.
- Occupancy and operations. Which areas are in use and which must be closed.
- Documentation. Photographs, video, sketches and notes that establish the starting conditions.
Identifying water migration
Water rarely stays put. It moves along ceilings, down walls, through penetrations, under flooring and along framing, and it can reappear far from where it began. Assessments often include inspecting adjacent rooms, the floors above and below and concealed spaces, and using moisture-detection tools, since surface appearance alone can mislead. Missing a wet area at this stage can cause problems later, which is why thoroughness pays.
Step 2: Moisture Evaluation and Drying Before Repairs
Building materials should generally be dry before they are closed up, refinished or covered. Rebuilding over wet materials is a well-known route to failed finishes, persistent odors and repeat repairs.
How moisture is evaluated
- Baseline readings. Moisture measurements are taken in affected and unaffected materials to establish reference points.
- Mapping. Readings are often recorded on plans or sketches so progress can be tracked.
- Repeated measurements. Readings taken daily or at planned intervals show whether materials are actually drying.
- Comparison to dry standards. Materials are compared with unaffected reference areas or appropriate criteria set by qualified professionals and manufacturers.
Drying approaches
Drying may involve air movement, dehumidification, controlled heat and, where justified, removal of materials that trap moisture. Drying strategies for hardwood floors, concrete slabs, wall cavities and ceiling systems differ, and a plan should be developed by qualified professionals.
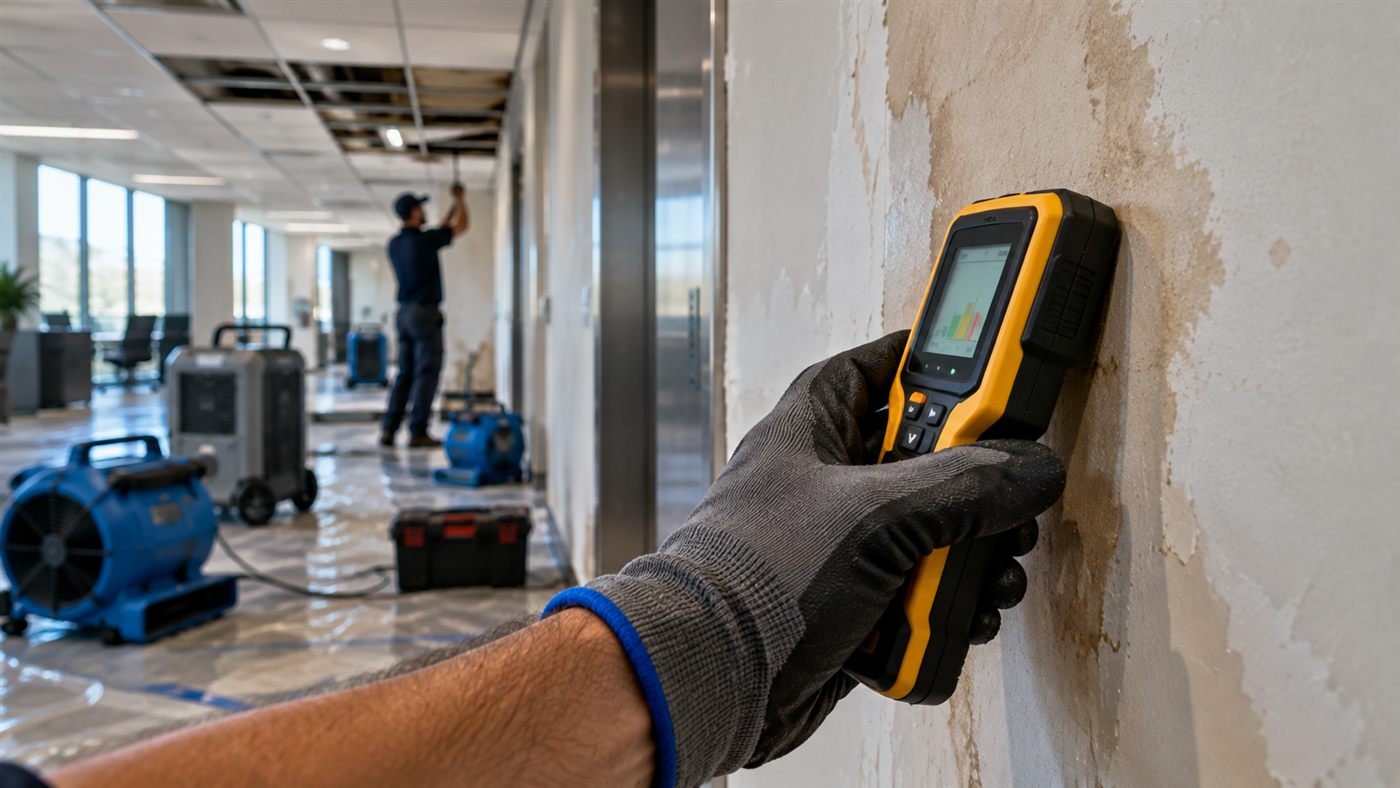
Verify, don’t assume. A surface that feels dry to the touch can still hold moisture in its core or in the assembly behind it. Repair should proceed only after moisture readings indicate the materials are ready, according to the professional in charge and any manufacturer requirements.
Step 3: Defining the Repair Scope
With the space stabilized and drying under way, the project shifts from emergency work to defining the repair. The scope describes precisely what will be done.
Sorting materials into categories
- Dry and unaffected. Materials that were not wetted or have dried successfully and can stay.
- Salvageable with cleaning or repair. Materials that can be restored in place.
- Unsalvageable. Materials that must be removed and replaced, often because of saturation, contamination or deterioration.
- Uncertain. Materials whose condition cannot be determined until the assembly is opened or further monitoring is complete.
Repair versus replacement
The decision draws on material behavior, duration of wetting, water type, moisture readings, code and warranty requirements, schedule and cost. The interior repair guide discusses these factors for drywall, ceilings, flooring, insulation, millwork and doors.
What a good written scope includes
- Areas and quantities of materials to be removed, repaired and replaced.
- Finish standards, including matching requirements.
- Assumptions, exclusions and allowances for unknown conditions.
- Responsibility for permits, inspections and specialty trades.
- Schedule, phasing and working-hour assumptions.
- Protection, containment and cleaning expectations.
- Documentation and reporting commitments.
Step 4: Estimates, Approvals and Agreements
Commercial repair estimates should be clear enough to compare and to hold to.
- Separate the phases. Emergency mitigation, demolition, reconstruction and finish work are often priced separately, and combining them can hide differences between proposals.
- Note the pricing method. Fixed-price, unit-price and time-and-materials arrangements each shift risk differently.
- Handle hidden conditions. Agree in advance on how discovered conditions, such as wet framing found after opening a wall, will be priced and approved.
- Confirm approvals. Landlords, insurers, lenders and authorities may need to approve scopes, contractors or costs.
- Verify insurance and licensing for contractors and subcontractors.
- Put it in writing. Contracts and change orders should describe work, price, schedule and payment terms.
Questions about coverage, claims and legal obligations should go to your insurer, your legal counsel or your risk advisor. This website does not provide insurance or legal advice.
Step 5: Demolition and Preparation
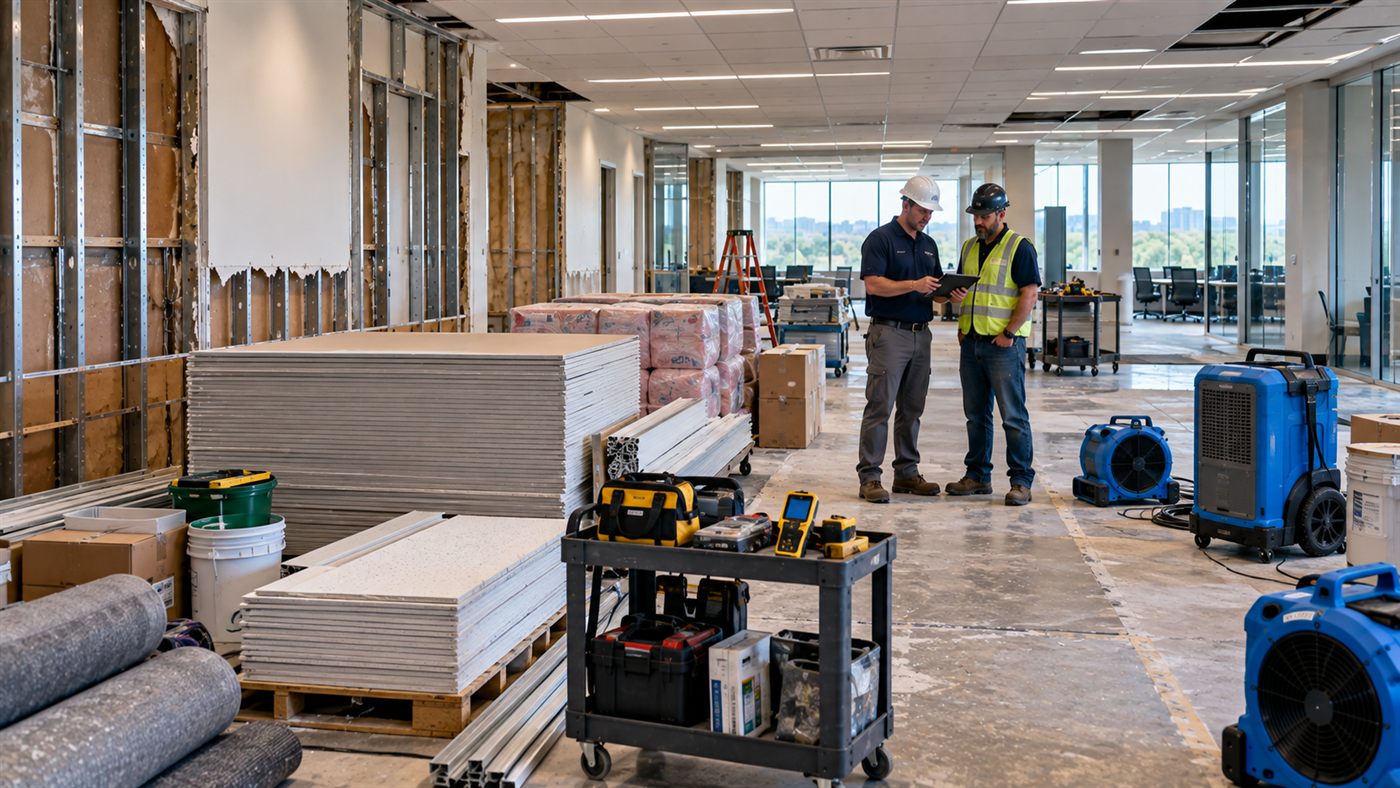
Demolition in a water-damaged building is targeted and controlled. The aim is to remove what must go and preserve what can stay, while protecting the rest of the building and its occupants.
Demolition considerations
- Extent. Removal is limited to what the assessment justifies, since unnecessary demolition adds cost and time.
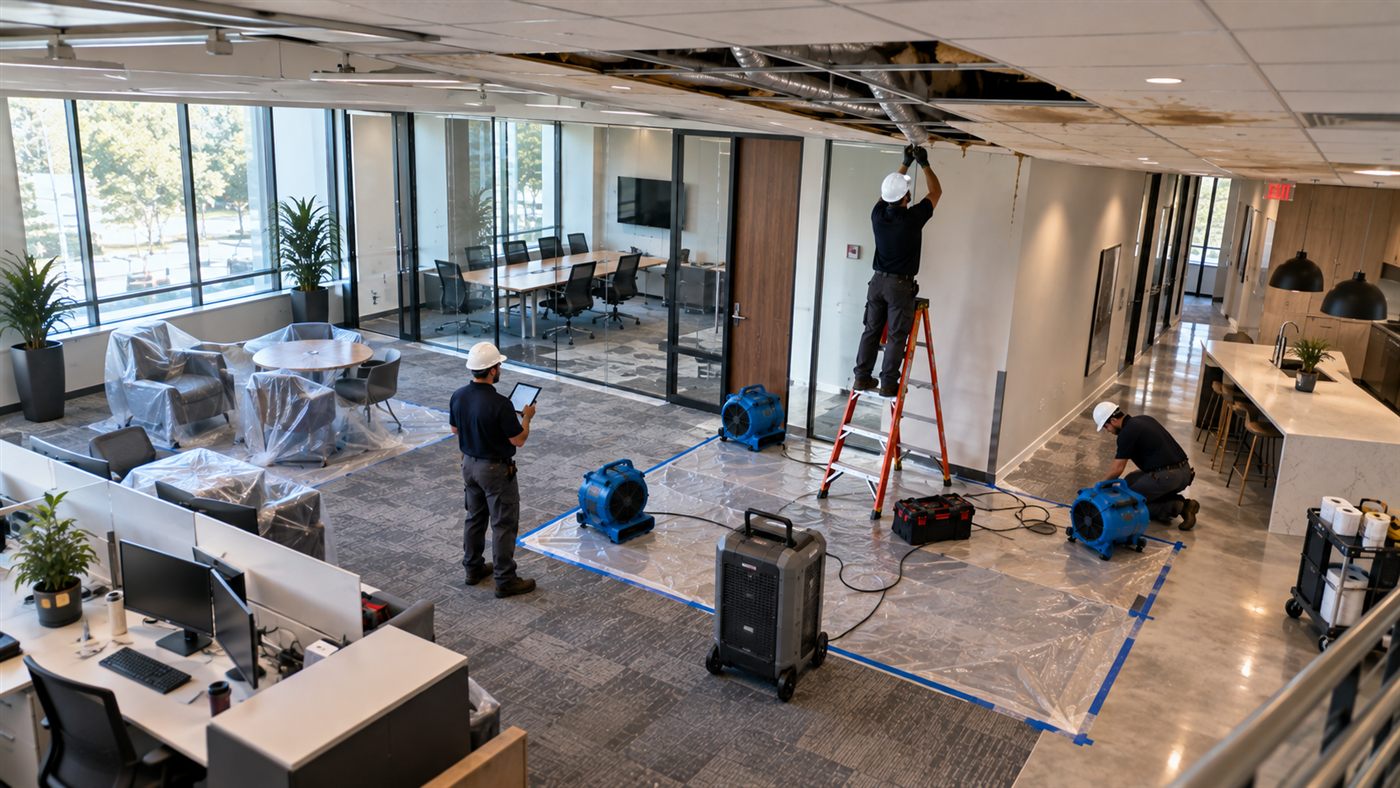
- Controls. Barriers, negative air where appropriate, dust control, floor protection and cleaning are used to protect occupied areas.
- Hazard awareness. Some older materials, such as certain insulation, flooring, adhesives, coatings and wall products, may need testing or special handling under applicable regulations before disturbance. Qualified professionals should determine whether testing or abatement is required.
- Utilities and systems. Electrical, plumbing, fire protection and mechanical systems in the work area should be identified, isolated and protected as needed.
- Disposal. Debris is handled and disposed of according to applicable rules.
- Documentation. Photographs of exposed conditions record what was found and support scope adjustments.
Inspect what is exposed
Once damaged finishes are removed, framing, cavities, substrates and systems are visible. This is the moment to verify moisture readings, look for hidden damage, evaluate framing and note conditions that affect the rebuild. Decisions made here should be recorded.
Step 6: Reconstruction Planning and Sequencing
Reconstruction restores the assemblies removed or damaged. Good sequencing keeps trades from stepping on each other and avoids closing walls before inspections and testing.
A typical reconstruction sequence
- Repair or replace framing, blocking and substrates as needed.
- Complete plumbing, electrical, HVAC and fire protection work, with permits and inspections where required.
- Install insulation and verify required inspections before closing.
- Hang and finish drywall, and install ceiling systems.
- Install flooring after substrates are verified dry and prepared per manufacturer requirements.
- Install millwork, doors, frames and hardware.
- Paint and apply finishes and wall coverings.
- Reinstall fixtures, equipment, signage and furnishings.
Material replacement and lead times
Materials with long lead times, such as custom millwork, specialty doors, storefront components, electrical gear and particular flooring, can control the schedule. Identify and order them early, ideally as soon as the decision to replace is made, and confirm whether matching products are still available.
Step 7: MEP Coordination
Mechanical, electrical and plumbing systems run through the same walls, floors and ceilings that repair work opens up, so coordination is crucial.
- Identify systems in the work area before demolition, including hidden lines, controls and life-safety systems.
- Use licensed trades for work on plumbing, electrical, HVAC and fire protection, and obtain permits and inspections where required.
- Sequence properly. Rough-in and inspections must occur before walls and ceilings are closed.
- Coordinate shutdowns. Interruptions to water, power, HVAC and fire protection should be planned with the building owner, manager and responsible parties, and any impairments to life-safety systems handled according to applicable requirements.
- Test and commission. Systems that were affected or altered should be tested and confirmed as working before turnover.
Step 8: Scheduling, Phasing and Occupied Spaces
Timing is often the deciding factor for a business. A realistic schedule accounts for drying, approvals, lead times, inspections and the operational needs of the property.
Building a workable schedule
- List tasks and dependencies, so it is clear what has to happen before the next step.
- Include time for moisture verification, permits and inspections.
- Identify long-lead items and their order dates.
- Add contingency for hidden conditions.
- Confirm working hours, access and building rules.
Phasing options
- By zone or area, so one part of the space can reopen while another is under construction.
- By trade or task, for example completing all demolition before rebuilding.
- By priority, starting with revenue-critical or life-safety areas.
- After-hours work, for noisy or disruptive tasks in occupied buildings.
Occupied-space and business interruption considerations
- Protect occupants with barriers, clear signage and safe routes.
- Control dust, odor and noise as appropriate.
- Communicate schedules to staff, customers and neighboring tenants.
- Keep records of downtime and additional costs, since they may matter for claims or agreements. Your insurer and advisors can explain how business interruption is treated under your policy.
Step 9: Inspections, Punch List and Project Closeout
The last stage is where a project either finishes cleanly or drifts. Structured closeout protects everyone.
Inspections
- Code and permit inspections for structural, electrical, plumbing, mechanical and life-safety work where required.
- Manufacturer and installer checks, for flooring, roofing and other materials with installation requirements.
- Moisture verification confirming that materials are dry before final finishes are applied.
- Insurer or adjuster reviews, where applicable.
The punch list
A punch list is a documented list of remaining items: touch-ups, adjustments, incomplete work, deficiencies and cleaning. Walk the space with the contractor, record each item with location and photographs, assign responsibility and set completion dates. Verify each item before signing off.
Closeout documentation
- Final inspection approvals and permits.
- Warranties and product information for installed materials.
- As-built notes for systems or layout changes.
- Moisture and drying records.
- Final photographs.
- Lien waivers and final payment documentation as your agreement requires.
Keep these records. They can be valuable for future maintenance, sale or lease transactions, insurance matters and warranty claims.
Choosing and Managing the Team
Most commercial projects involve several parties. Understanding their roles reduces confusion.
- Owner or tenant. Makes decisions, approves scope and cost.
- Property manager or facility manager. Coordinates access, building rules and communications.
- Mitigation provider. Handles emergency response and drying.
- General contractor or repair contractor. Manages reconstruction, subcontractors and schedule.
- Specialty trades. Plumbers, electricians, HVAC contractors, fire protection contractors, roofers, flooring installers and others.
- Design professionals and consultants. Architects, engineers and testing consultants, when required.
- Insurer and adjuster. Evaluate and administer claims.
- Authorities. Building, fire and health officials who inspect and approve.
Designate one point of contact for decisions, hold regular progress meetings and keep a written record of approvals and changes.
Common Causes of Repair Delays
Understanding what typically slows a commercial repair project helps you plan around it.
- Extended drying when materials or slabs hold moisture longer than expected.
- Hidden conditions found after demolition that expand the scope.
- Long-lead materials, such as custom millwork, specialty doors, storefront components and electrical gear.
- Approvals, including landlord, insurer, lender and permit decisions.
- Inspection scheduling and failed or incomplete inspections.
- Access limitations in occupied buildings, such as restricted hours or elevator use.
- Trade sequencing conflicts when one trade is not ready for the next.
- Scope changes requested by owners or tenants during the work.
Most of these can be reduced by early planning, a written scope, prompt decisions and a single point of coordination.
Frequently Asked Questions
The main steps are initial assessment, moisture evaluation and drying, scope and estimate, demolition and preparation, reconstruction with trade coordination, and inspections, punch list and closeout.
Closing up or refinishing wet materials can trap moisture and lead to failed finishes, odors and repeat repairs. Moisture readings help show when materials are ready.
They are typically addressed through allowances, unit prices or change orders agreed in advance. Photograph and document conditions when they are found, and get written approval before proceeding.
Often, particularly for structural, electrical, plumbing, mechanical and life-safety work. Requirements depend on local jurisdiction and the nature of the work, so check with the authority having jurisdiction.
It is a written list of remaining items to correct or complete before a project is accepted, such as touch-ups, adjustments and cleaning. It is worked through and verified before final sign-off.
Sometimes, using phasing, barriers and after-hours work. Feasibility depends on damage, safety, the type of business and building requirements.
Ready to Plan Your Repair?
Organize the facts about your property and send a request. A clear starting point makes every later step easier to plan.